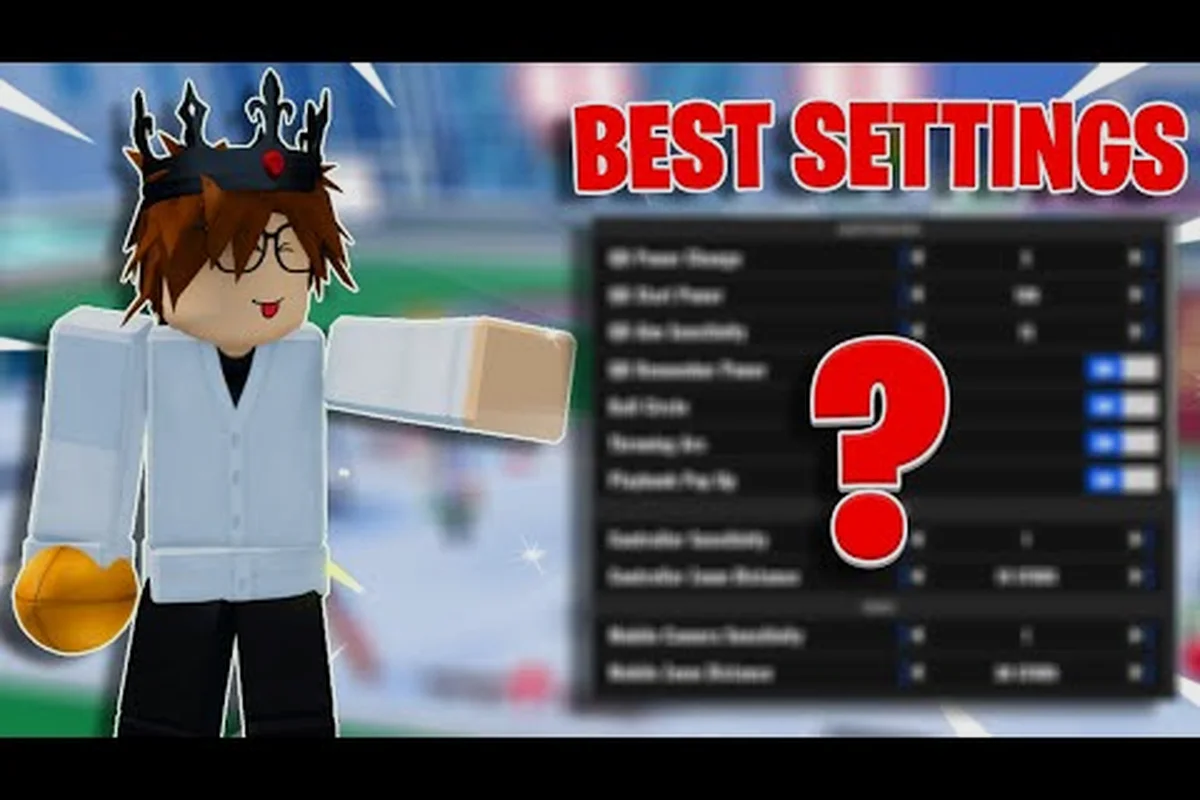
Your camera setup in NFL Universe Football does more than change how the field looks — it directly controls how early you read routes, how cleanly you track deep passes, and how fast you can flip your eyes from the quarterback to the sideline. Most players leave the default view untouched and then wonder why they keep losing contested catches or getting burned on corner routes. This guide breaks down the exact NFL Universe Football camera settings that high-level players use, including sensitivity curves, zoom ranges, and broadcast angles that keep the ball visible through traffic.
Understanding the Core Camera Options
Before you start changing values, you need to know what each slider actually controls. The camera system in NFL Universe Football splits into three broad groups: field perspective, tracking behavior, and sensitivity response. Field perspective determines whether you see the action from a broadcast sideline angle, a behind-the-offense view, or a zoomed-out overhead look. Tracking behavior controls how aggressively the camera follows the ball carrier after the snap, while sensitivity response governs how quickly your manual camera stick input translates into on-screen movement.
The default preset leans toward a cinematic broadcast feel, which looks great in replays but creates real problems in live play. Because the default zoom sits too close to the line of scrimmage, you lose sight of safeties rotating late, and deep corner routes disappear off the top of the screen before the ball arrives. According to community testing, most players who switch to a slightly zoomed-out angle report cleaner reads on Cover 2 and Cover 3 shells within their first five games.
Here is a quick reference for what each core option does:
| Camera Option | What It Controls | Default Value | Recommended Range |
|---|---|---|---|
| Field Zoom | Distance from the line of scrimmage | 55 | 35–45 |
| Camera Height | Vertical angle above the field | 50 | 60–70 |
| Tracking Speed | How fast the camera follows the ball | 50 | 40–55 |
| Manual Sensitivity | Stick input response speed | 50 | 65–80 |
| Broadcast Angle | Sideline vs. behind-offense view | Sideline | Behind-Offense |
The Field Zoom setting is the single most impactful change you can make. Lowering it from 55 to around 40 pulls the camera back enough to see both outside receivers and the safety shell without making player models too small to read animations. If you play primarily on offense, a zoom value between 38 and 42 gives you the best balance of pre-snap information and post-snap tracking.
Building a Sensitivity Profile That Matches Your Position
Sensitivity settings in NFL Universe Football work differently depending on whether you are controlling the quarterback, a skill position player, or a defender. A wide receiver running a deep post needs a faster manual sensitivity to adjust the camera mid-route, while a linebacker reading run keys benefits from a slower, more stable view that does not jerk when you switch targets.
The Manual Sensitivity slider controls your right-stick camera movement independent of the automatic tracking system. Setting this too low makes it impossible to check off defenders before the snap, but setting it too high causes overshoot when you try to flip your view from one hash to the other. Most experienced players land between 65 and 75, with slight adjustments based on their primary position.
Position-Specific Sensitivity Recommendations
Different positions demand different camera behavior because the information you need changes based on your role. A quarterback needs to see the entire secondary pre-snap, while a running back mostly needs to read the first two levels of the defense. Here is how the community tunes sensitivity by position:
| Position | Manual Sensitivity | Tracking Speed | Field Zoom | Key Reason |
|---|---|---|---|---|
| Quarterback | 70–80 | 45–50 | 38–42 | Read full secondary pre-snap |
| Wide Receiver | 75–85 | 40–45 | 35–40 | Track ball in air on deep routes |
| Running Back | 60–70 | 50–55 | 40–45 | Stable view through the hole |
| Linebacker | 55–65 | 45–50 | 42–48 | Keep both guards and back in frame |
| Defensive Back | 70–80 | 40–45 | 35–40 | Flip hips and track receiver |
The Tracking Speed setting is often overlooked because players assume faster is always better. In practice, a tracking speed above 55 causes the camera to whip violently when the ball changes direction on screens or reverses, which disorients you at the exact moment you need to make a tackle. Keeping tracking speed between 40 and 50 gives the automatic camera enough responsiveness to follow normal plays without overreacting to cutbacks.
How to Test Your Sensitivity Without Ruining Ranked Games
You should never experiment with new settings in a ranked match where the stakes are high. Instead, load into a private server or a casual park game and run through a simple drill: call four verticals, snap the ball, and try to track the outside receiver on the left hash from release to catch point. If you lose the ball in the air, your manual sensitivity is too low or your zoom is too tight. If the camera overshoots and you have to correct back, your sensitivity is too high.
Repeat this drill five times, then adjust one slider by five points and repeat. Because the sensitivity response curve in NFL Universe Football is linear rather than exponential, small changes produce predictable results. Most players find their ideal setting within two or three adjustment cycles using this method.
Optimizing Field Zoom for Clean Ball Tracking
The biggest complaint from new players is losing sight of the football on deep passes. This almost always comes down to Field Zoom being too tight combined with a camera angle that tilts too low to the ground. When the camera sits close to the field, the ball leaves the top of the visible frame before the receiver even turns his head, forcing you to guess where the pass will land.
A zoomed-out view solves this by keeping the entire route tree visible from snap to catch. The trade-off is that player models shrink, which makes subtle animation reads — like a defender breaking on a curl route — slightly harder to detect. This is why the best camera settings in NFL Universe Football are position-dependent rather than universal.
The Behind-Offense Angle Advantage
Switching from the default sideline broadcast angle to the behind-offense view changes how you process the field. From behind the quarterback, the entire defense spreads out in front of you, which makes reading coverage shells dramatically easier. You can see both safeties, both corners, and the linebacker depth all at once without panning.
The downside is that you lose the sideline perspective on outside runs and screens, where the broadcast angle shows blocking development more clearly. Most offensive players accept this trade-off because pre-snap coverage reads matter more than post-snap blocking detail. Defensive players, however, often stay on the sideline angle because it shows the entire offensive formation without the quarterback's body blocking the view.
| View Angle | Best For | Weakness | Recommended Zoom |
|---|---|---|---|
| Behind-Offense | QB reads, route tracking | Outside run blocking detail | 38–42 |
| Sideline Broadcast | Defense, run plays | Deep pass tracking | 40–45 |
| Overhead | Play calling, learning plays | Player model detail | 45–50 |
The Overhead angle is rarely used in competitive play but serves as an excellent learning tool when you are memorizing a new playbook. Because it shows all 22 players from a top-down perspective, you can see exactly how routes develop and where the open windows appear. Once you understand the play, switch back to behind-offense for actual execution.
Setting Up a Private Server for Camera Testing
Testing camera settings in live games is inefficient because you cannot pause, reset, or control the defensive look. A private server gives you a controlled environment where you can run the same play repeatedly against a static defense while adjusting sliders between reps. This is also where the NFL Universe Football private server guide becomes essential for players who want to drill specific scenarios without matchmaking pressure.
Creating a private server in NFL Universe Football is straightforward. From the main menu, select the Play tab, then choose Private Server from the mode list. You can set the server to invite-only, which prevents random players from joining while you test. Most players use private servers for three purposes: camera tuning, playbook memorization, and running drills with friends before entering ranked matches.
Step-by-Step Private Server Setup
Setting up a private server takes less than two minutes once you know where the options live. The process is identical across platforms, though the button labels may shift slightly depending on your device.
-
Open the main menu and navigate to the Play section.
-
Select Private Server from the available game modes.
-
Choose Create Server and set the privacy to Invite Only.
-
Adjust the match settings — quarter length, difficulty, and play clock — to match your testing needs.
-
Copy the server invite code and share it with friends if you want co-op testing.
Once inside, you can pause at any time, reset the ball position, and run the same play over and over. This repetition is how players develop muscle memory for camera adjustments, because you can isolate one variable at a time without the chaos of a live match interfering with your observations.
Coordinating Camera Settings With Friends and Crews
When you play with friends, camera settings become a coordination issue as much as a personal preference issue. If your quarterback uses a zoomed-out behind-offense view while your wide receiver plays on a tight sideline angle, you will read the same play differently and make conflicting decisions. This is why understanding how to play with friends in NFL Universe Football includes aligning your visual setups before you queue together.
The simplest approach is to standardize on one camera profile for the entire squad. Most competitive crews run the same Field Zoom and Camera Height values so that every player sees the same spacing and depth. Individual sensitivity can still vary based on position, but the core perspective should match. When everyone sees the same field, route timing and defensive rotations become predictable.
Creating a Crew With a Shared Camera Standard
If you are serious about coordinated play, creating a crew is the best way to lock in a shared setup. The process for how to create a crew in NFL Universe Football is simple, but the strategic value comes from what you do after the crew exists. A crew gives you a persistent group with shared progression, making it easier to standardize settings and practice together.
To create a crew, open the Social menu from the main lobby and select Crews. From there, choose Create Crew, name your group, and set a recruitment policy. Once your crew is active, you can post your recommended camera settings in the crew description or pin them in the crew chat. New members can copy the exact values before their first game, eliminating the adjustment period that normally slows down pickup squads.
| Crew Setting | Why It Matters for Camera Coordination |
|---|---|
| Shared Zoom Value | Everyone sees identical spacing and depth |
| Position Sensitivity Ranges | Allows role-specific tuning within a standard |
| Practice Server Access | Lets new members drill settings before live games |
| Pinned Settings Post | Quick reference for all members |
The crew practice server is where coordination actually happens. Run seven-on-seven drills with the same camera profile, and you will quickly see which players struggle with the view and need individual adjustments. Because everyone is working from the same baseline, fixing one player's tracking issue does not throw off the rest of the squad.
Applying Camera Settings to Different Game Modes
Not every mode rewards the same camera setup. Park games tend to be faster and more chaotic, which favors a slightly tighter zoom that keeps player models large enough to read quick cuts. Ranked matches, by contrast, reward the zoomed-out view because pre-snap information matters more than animation detail. Understanding how to play park in NFL Universe Football means adapting your camera to the mode's tempo.
In Park mode, the shorter field and faster pace make the behind-offense angle less useful, because plays develop so quickly that you rarely have time to scan the full secondary. A mid-range zoom with a slightly higher camera angle works better here, keeping the action readable without sacrificing reaction speed. Many park players also raise their manual sensitivity by five to ten points to keep up with the faster directional changes.
Ranked Mode Camera Priorities
Ranked play rewards information over reaction speed. Because opponents run more complex defensive schemes and disguise coverages, you need the zoomed-out behind-offense view to read rotations before the snap. The trade-off in model size is worth it, because missing a safety rotation costs you a turnover, while a slightly smaller player model only costs you a fraction of a second on animation reads.
Players who climb the ranked ladder consistently report that camera settings are one of the first things they optimize after learning the basics. If you are still working through the fundamentals, the beginner guide covers throwing and catching mechanics that pair well with a proper camera setup. Once your mechanics are solid, the camera becomes the difference between seeing the open receiver and throwing blind.
Frequently Asked Questions
What are the best NFL Universe Football camera settings for beginners?
Start with Field Zoom at 42, Camera Height at 65, and Manual Sensitivity at 70. This gives you a balanced behind-offense view that shows the full secondary without making player models too small. Leave Tracking Speed at 50 until you develop a feel for how the automatic camera behaves.
How do I stop losing the ball on deep passes?
Lower your Field Zoom to between 35 and 40 and switch to the behind-offense angle. The zoomed-out view keeps the ball in frame from release to catch point, while the behind-offense angle shows the entire route tree. If you still lose the ball, raise Manual Sensitivity by five points and test again in a private server.
Can I use different camera settings for offense and defense?
Yes, and most competitive players do. Offensive players generally prefer the behind-offense angle with a zoom around 40, while defensive players often stay on the sideline broadcast angle to read the full offensive formation. You can switch presets between drives, though the game does not auto-switch based on possession.
Do camera settings affect gameplay performance?
Camera settings do not change player attributes or game mechanics, but they significantly affect your ability to read plays and react in time. A poorly configured camera makes you late on throws and tackles, which feels like a performance issue even though the underlying stats are unchanged. Optimizing your view is one of the fastest ways to improve without grinding.
How do I test camera settings without losing ranked games?
Create a private server and run the same play repeatedly while adjusting one slider at a time. This controlled environment lets you isolate variables like Field Zoom and Manual Sensitivity without matchmaking pressure. The wide receiver guide includes route-running drills that work well for camera testing.